In this post I’ll explain how to create, upload, and run a NodeJS application in a Docker container on AWS Fargate.
Why I Wanted to Do This
I’m working on a new project. I’ll be starting out by putting together a prototype of just the front end, and then adding calls to another service on the back end to add functionality.
When I was a student at Missouri State, we used NodeJS in the web applications class. I remember it being pretty fast to get a front end set up with Express and Pug, and then it being fairly easy to add some server-side logic.
I’ve used Docker in other projects. I liked that it made it easy to deploy changes to an application. I liked that I can run an application locally for quick development, but I can then run it in the cloud without having to worry too much about discrepancies between the software and configuration on my local machine versus the cloud. It also seems to be useful for making an application scalable.
What I’m Assuming You Know
I assume that you:
- Have Docker installed, or can install it.
- Have an AWS account.
- Have AWS CLI tools installed.
Part 1: Creating a Dockerized NodeJS App
Setting up a simple Dockerized app doesn’t take many files. You can create them in a project folder from the code in this post, or you can clone it from my github.
You’ll only need five files:
- package.json
- server.js
- homepage.pug
- Dockerfile
- .dockerignore
First let’s look at package.json.
{
  "name": "docker_web_app",
  "version": "1.0.0",
  "description": "Node.js on Docker",
  "author": "Andrew Rowell <________@gmail.com>",
  "main": "server.js",
  "scripts": {
    "start": "node server.js"
  },
  "dependencies": {
    "express": "^4.16.1",
    "pug": "^2.0.4"
  }
}
There’s not much going on here. In this example app you’re just using express and pug to host some static content, but it would be easy to extend it into something more interesting.
Next is server.js.
'use strict';

// This app uses express and pug.
const express = require('express');
const pug = require('pug');

// Config
const PORT = 80;
const HOST = '0.0.0.0';

// Host homepage.pug
const app = express();
app.get('/', (req, res) => {
  res.send(pug.renderFile('homepage.pug'));
});

app.listen(PORT, HOST);
console.log(`Running on http://${HOST}:${PORT}`);
All this is doing is rendering the homepage pug file when a GET request is sent to the host on port 80. It would not be too difficult to add some code to do something more interesting, like calling an external web API.
On line 14 you can see that it is rending a file called homepage.pug
head
  title My Dockerized Node App
body
  p Hello World!
This file makes the pug engine render a simple html page with a title and paragraph.
Finally, you have the Dockerfile.
# The Docker image we're creating is based on the NodeJS 10 image.
FROM node:10

# Create app directory
WORKDIR /etc/testapp

# Install app dependencies files.
COPY package*.json ./

# Install the dependencies.
RUN npm install

# Bundle app source.
COPY . .

# Copy pug files.
COPY *.pug ./

# Open port 80
EXPOSE 80

# Run Node.js
ENTRYPOINT [ "node", "server.js" ]
This tells Docker how to build the image. It starts with an existing image that has Node 10 installed, copies the app’s code to the image, installs the app’s dependencies, opens port 80, and tells it how to start Node.
You’ll want to avoid copying debug logs and local modules to the image. That’s done with .dockerignore.
node_modules
npm-debug.log
Once you have these files created, you can build the image.
docker build -t test/node-docker-app .This should end with the message:
Successfully tagged test/node-docker-app:latest
And now you can run the docker image.
docker run -p 12345:80 -it --init test/node-docker-app
-p 12345:80 tells it to map port 12345 to port 80 on the container. -it –init makes it possible to use Ctrl+C to close the app.
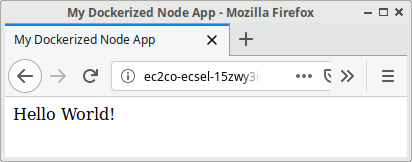
Open up a browser window, go to http://localhost:12345, and you should see this page:
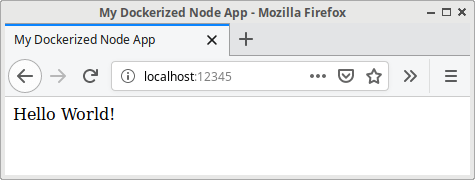
Now you have a working dockerized NodeJS app.
Part 2: Uploading The Docker Image to ECR
Open up ECR in the AWS console, and click Create Repository.

Create a test-node-app repository.

Now you should see it in the repository list.
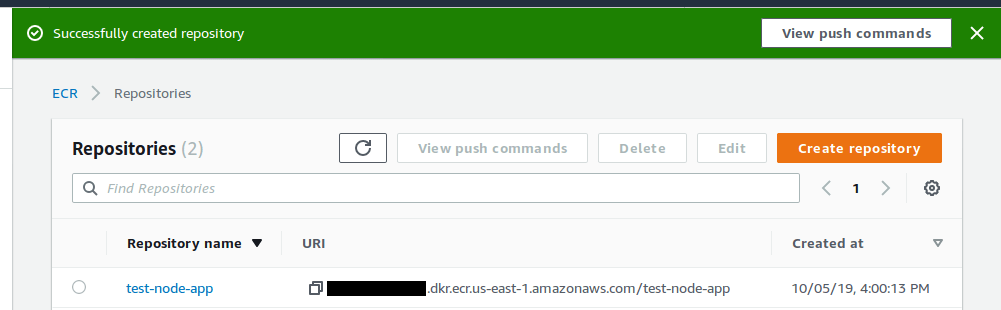
It’s worth noting that the View Push Commands button will explain how to push your built image to the repository, including instructions for Windows. For completeness, we’ll still look at how to push it with Linux/Mac.
You can also find a more permanent View Push Commands button if you click on the repo’s name.
These next steps assume that the AWS CLI has been configured for us-east-1 with a user that has the necessary permissions.
You’ll need to use the log in command to authenticate the Docker client. Here we’re using the us-east-1 region.
$(aws ecr get-login --no-include-email --region us-east-1)
Then you will need to tag the image. You can find it with Docker’s images command.
$ docker images
REPOSITORY            TAG     IMAGE ID      CREATED         SIZE
test/node-docker-app  latest  104d7a97a412  41 minutes ago  920MB
Since you’ll be pushing the latest image, you can tag it for ECR with this command:
docker tag test/node-docker-app:latest <repository id>.dkr.ecr.us-east-1.amazonaws.com/test-node-app:latest
You can find the repository id in the repo URI from the console where you created the repository earlier.
Then you push the image:
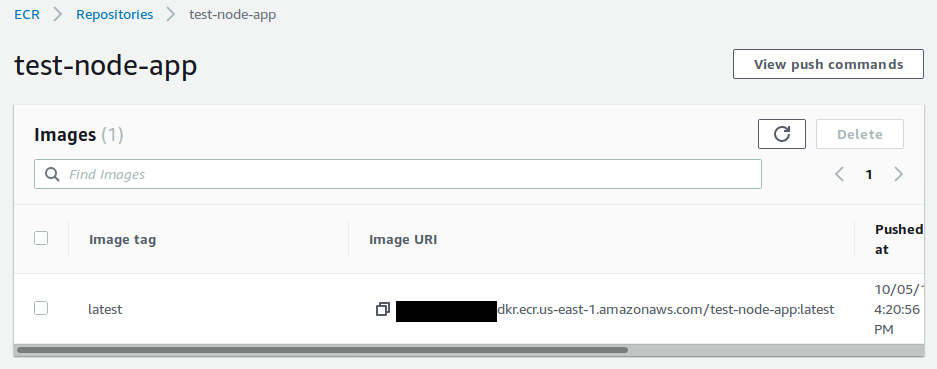
docker push <repository id>.dkr.ecr.us-east-1.amazonaws.com/test-node-app:latest
Once this command finishes, you should see the image in ECR.
Part 3: Deploying the Image
To do this, you can use the ECS First Run Wizard.
You’ll want to configure a custom container.
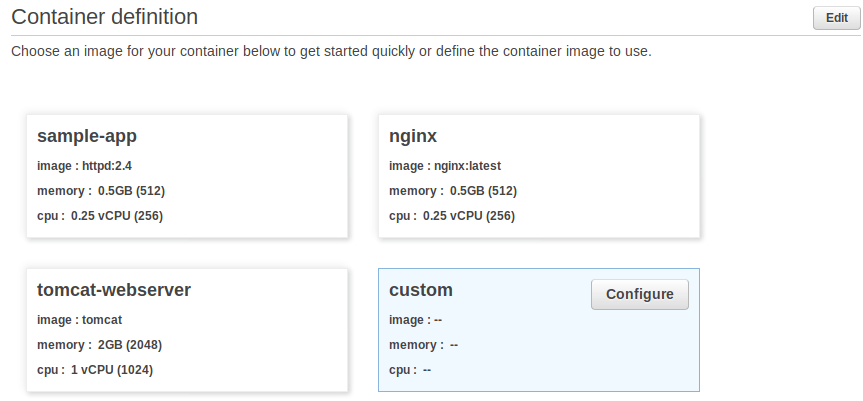
You’ll need to set the image to the Image URI from above in ECR. For now you can set the hard memory limit to 300 MiB, and add port 80 to the port mappings.
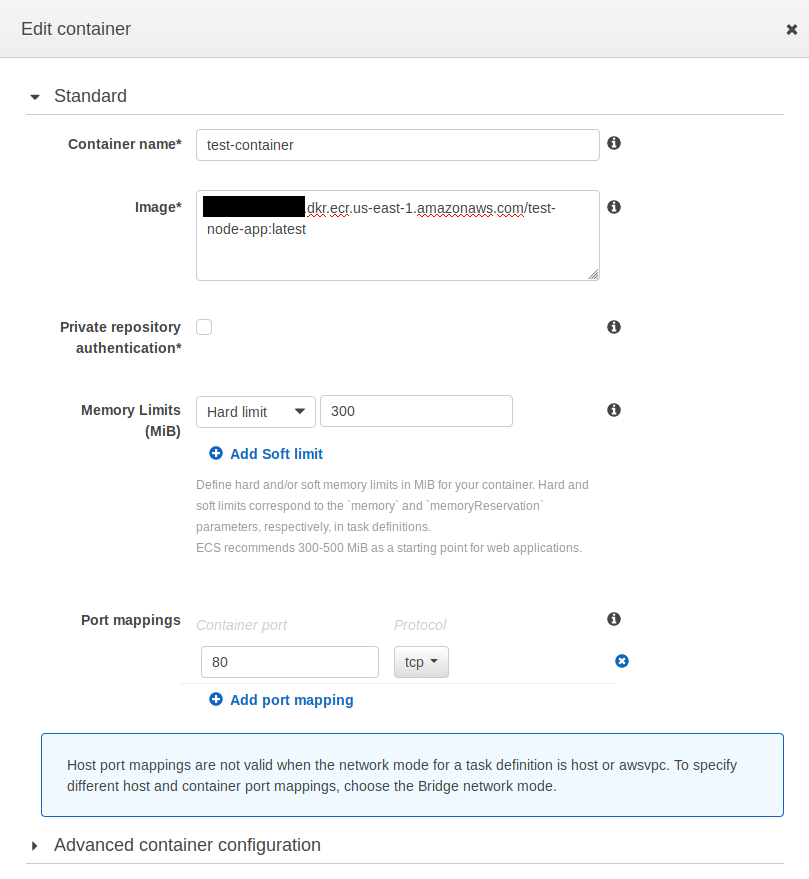
Once you’ve set these, click Update to finish setting up your container definition. Next you’ll need to Edit your task definition. For this sample app, I recommend the lowest memory and CPU settings.
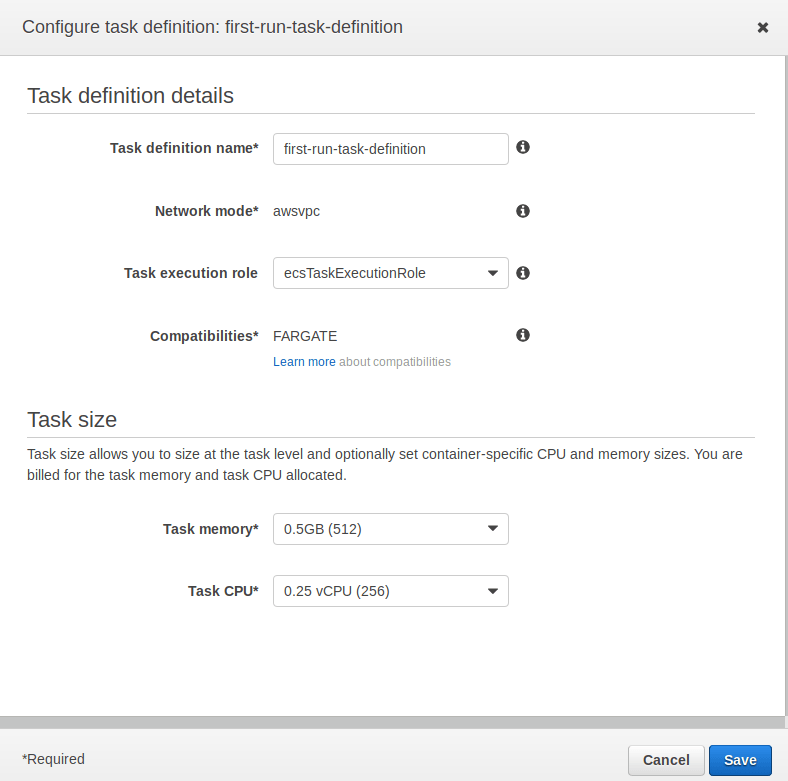
Once you’ve done that, go to the Next page.
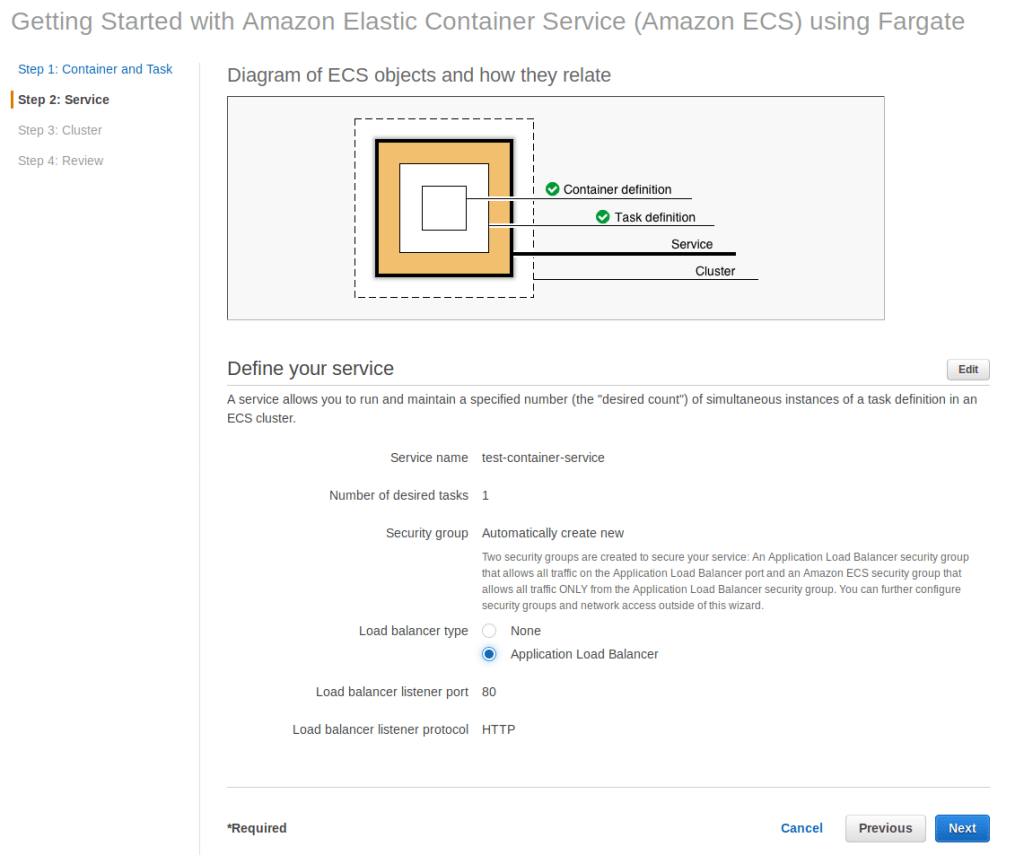
Here you can add a load balancer. For a small static site with little traffic this might not be necessary, but I did it anyway to see what it would be like to set one up. Then go to the Next page.
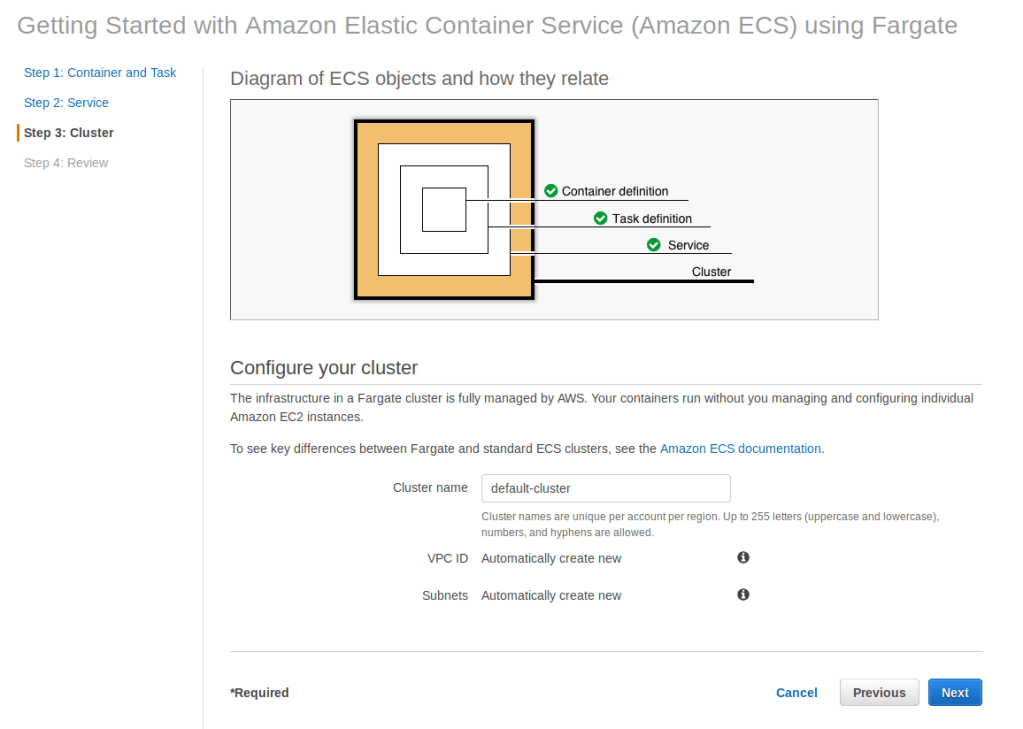
Here you’ll just need to give the cluster a name.
The final page will just show a review of the settings you configured. It should look like this.

Click Create. You’ll then be taken to a screen that looks like this, except you’ll probably see first-run-task-definition:1.
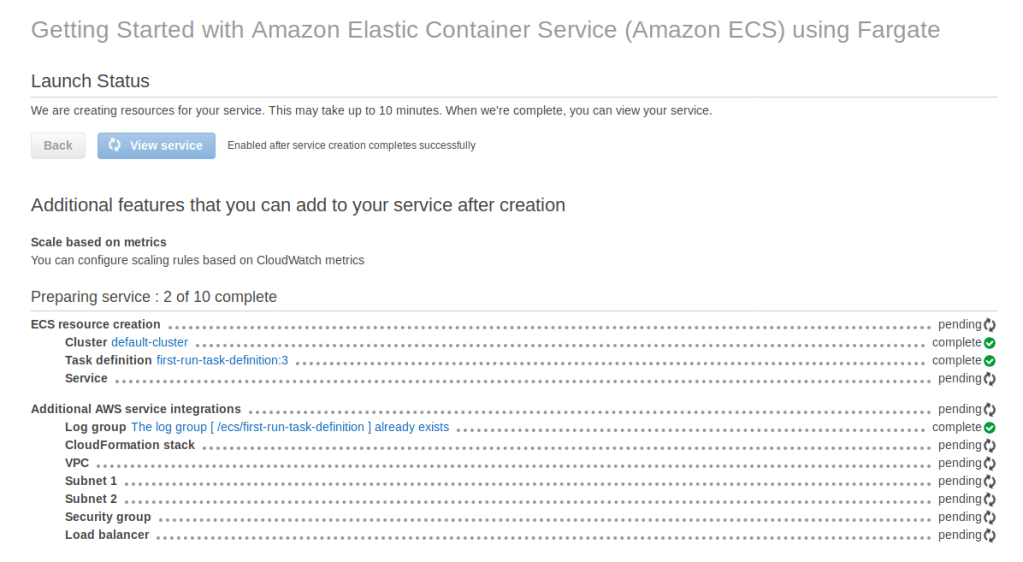
Don’t worry if this seems like it’s going slow, it’ll take a few minutes.
Once it finishes, you can click on the load balancer to see its settings.
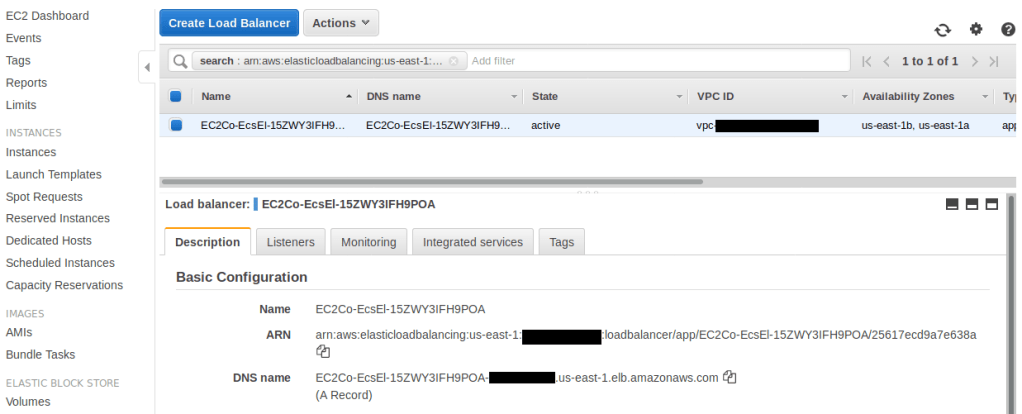
Here you’ll see the DNS name for the load balancer. If you copy that into your browser’s URL bar, you’ll open up the Node app being hosted in AWS.
Now you’ve dockerized a Node app and deployed it to ECS!
What Next?
Before I do much more with this, I’m going to read through this list of best practices for dockerized Node and apply them. I want to look into modifying this setup so I can use HTTPS, and eventually I will need to set up autoscaling. If you know of any good information or tutorials for this, feel free to send them to me on Twitter, LinkedIn, or by email.

Leave a comment