Previously I showed you how to deploy a NodeJS app in Fargate. In this post I’ll explain how to set up continuous integration with CircleCI.
Why I Wanted to do This
In my previous post I set up a NodeJS app in Fargate, but each time I wanted to make a change to the live site, I had to run commands to build and push the docker image to ECR. I also would have had to use the AWS console to make my app’s service use the new image. All of that work is boring, time consuming, and can be automated!
On top of the convenience, this sort of setup is a good practice, because you can add a stage that runs automated tests on your application’s code. For example, if I were working on an app with a login, I could create an automated test that verified that feature every time I pushed a commit.
CircleCI is a tool that will make it possible to deploy the changes when they are pushed to a github repo. I will also show how I set up main and test environments, so that I can see what my changes will look like before publishing them.
Assumptions
I assume that you:
- Followed the previous guide on deploying a NodeJS app in Fargate.
- Have a github account. Bitbucket might also work, but I used github to write this guide.
- Know how to commit and push to the github.
- You can use basic git commands.
Part Zero: Putting the App Into Github
While making the previous guide, I already had my code in a github repo. I realized I hadn’t mentioned this, so if you just created the file in a folder and followed along without using git, you’ll need this section.
If you haven’t used git yet, you’ll also want to set your user name and email.
You’ll want all of your app’s files in their own folder.
Go to this folder in the terminal, and then follow Github’s guide for adding this local folder to your github account.
Part One:
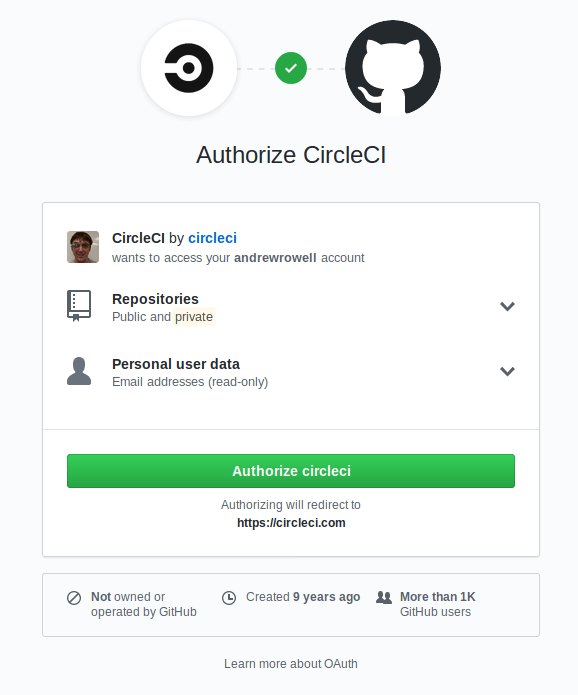
You can set up a CircleCI account with your github account by logging in at https://circleci.com/.
You’ll see a screen like this:
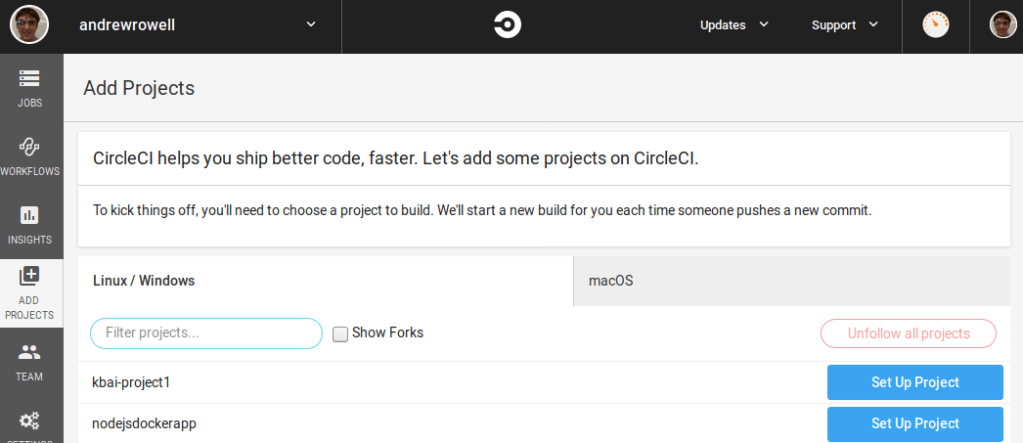
Once you authorize it, you’ll be taken to the home page:
Since you haven’t set up CircleCI with the project yet, you’ll want to click “Set Up New Projects”.
Find your app, and click “Set Up Project”.
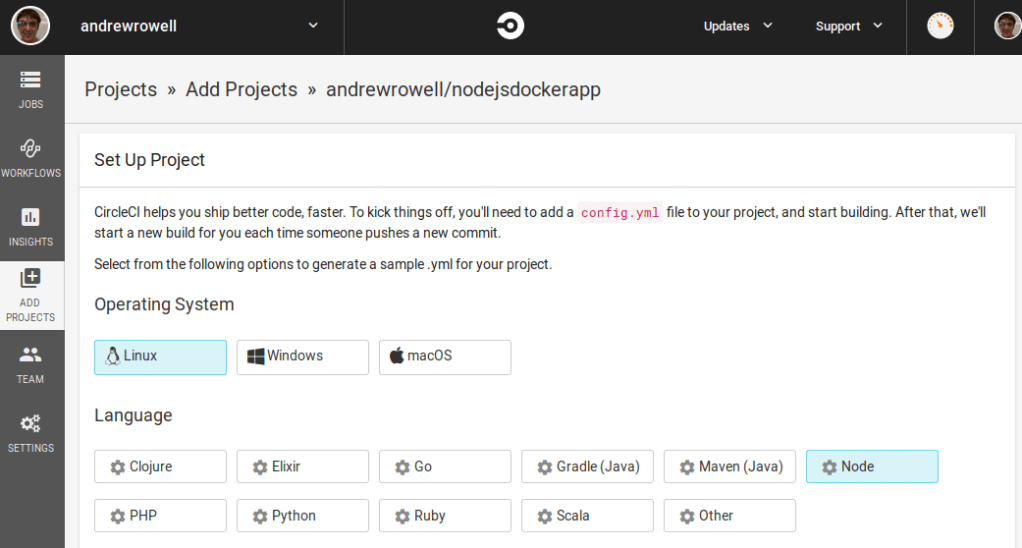
The next screen will have some instructions, but first we want to select Node from the language list.
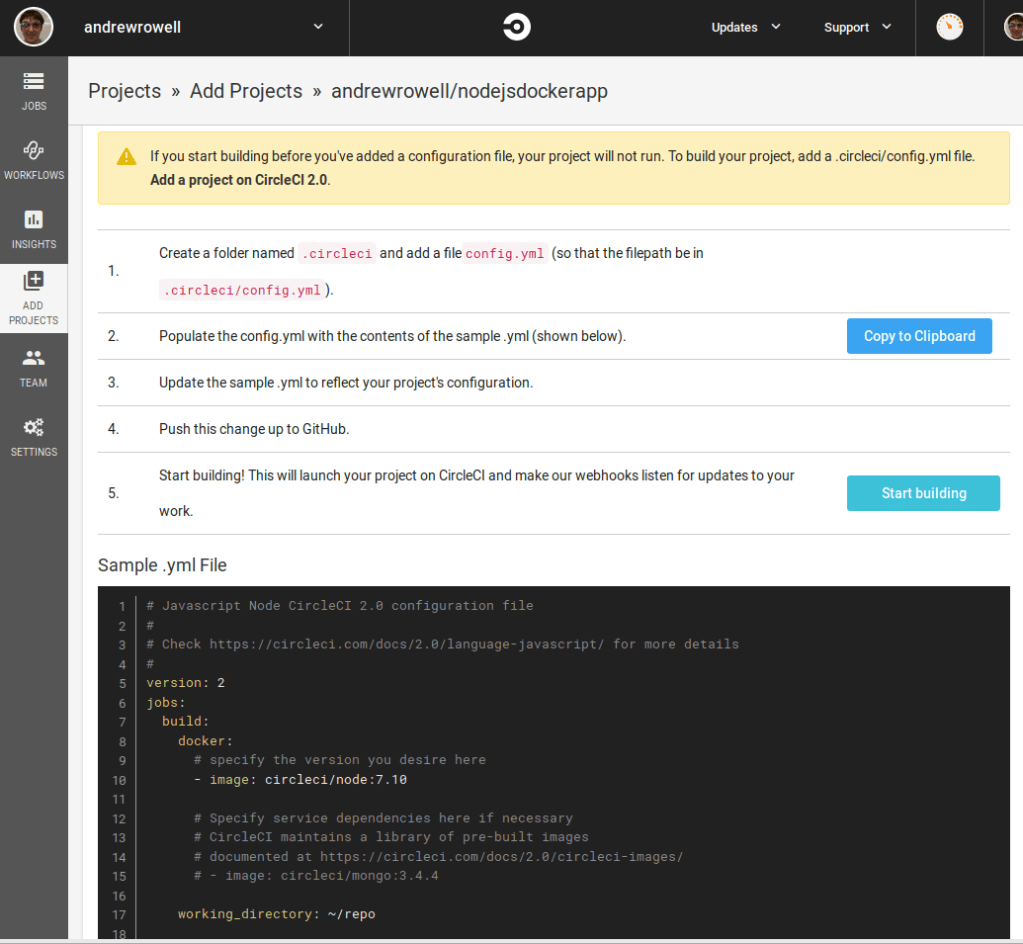
Below it will be some instructions, and a sample .yml file.
In your app’s source code folder, make a directory called .circleci , and then put the sample file from that page into config.yml . Don’t worry about what’s in it right now.
Then, commit the new file and push it to your github repo.
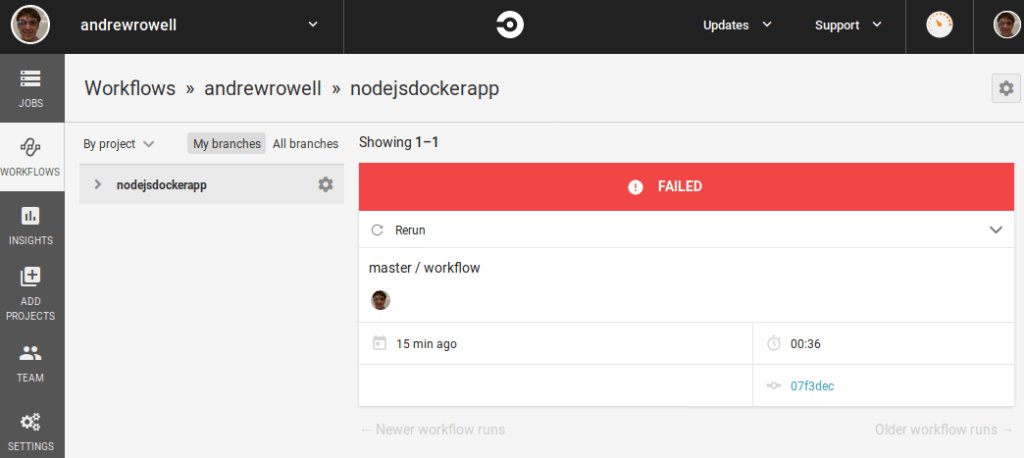
Finally, click “Start Building”.
After some time, you should see a failed build. This is okay. This is expected. You’ll fix it in a later step.
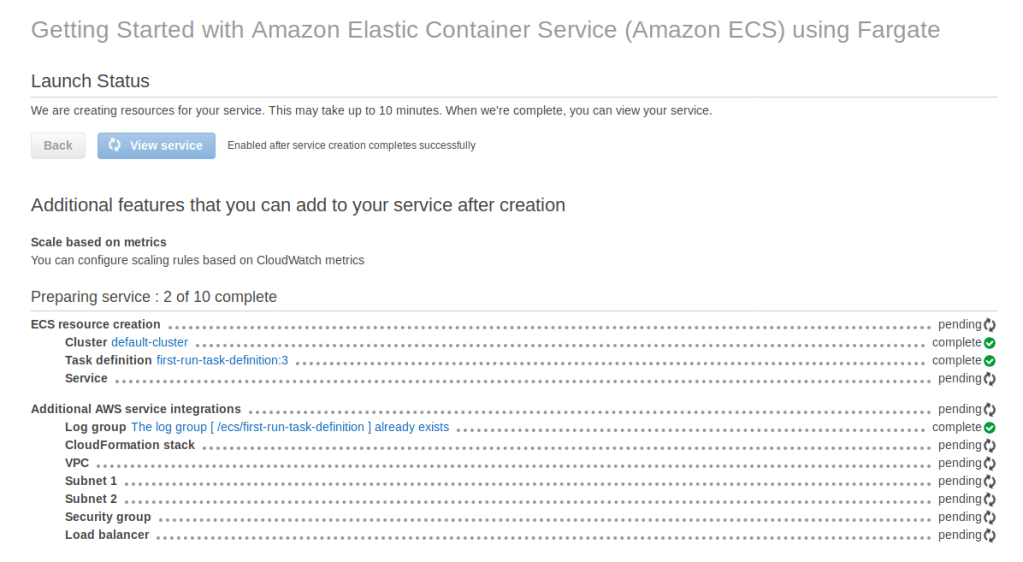
Part Two: Setting Up Testing Infrastructure
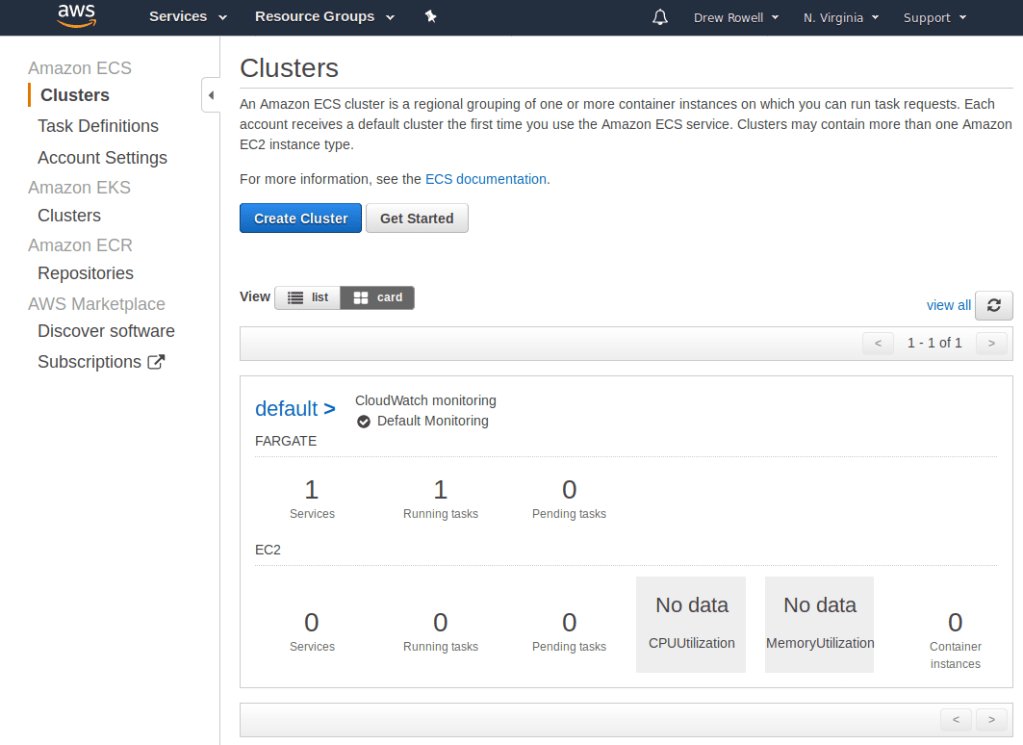
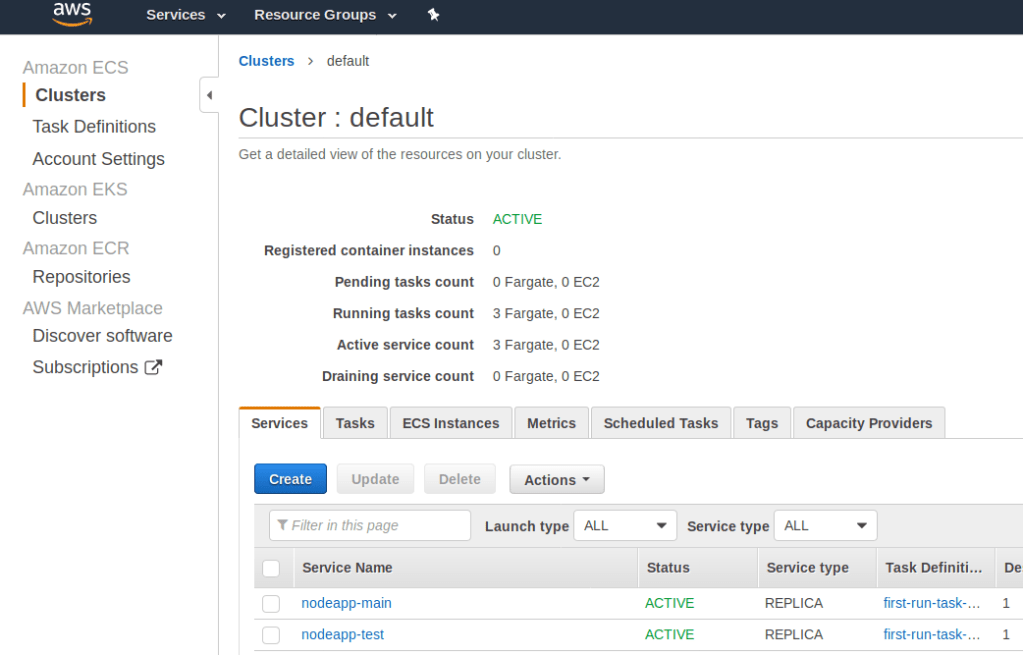
Open up your AWS account, and go to ECS.
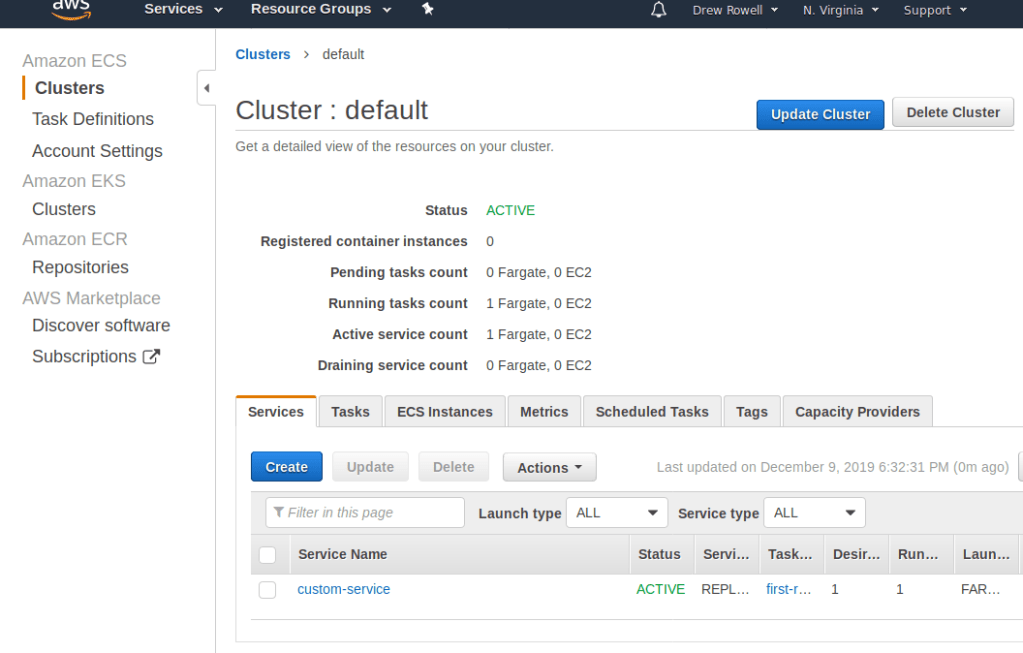
Open up the default cluster, pick the Services tab.
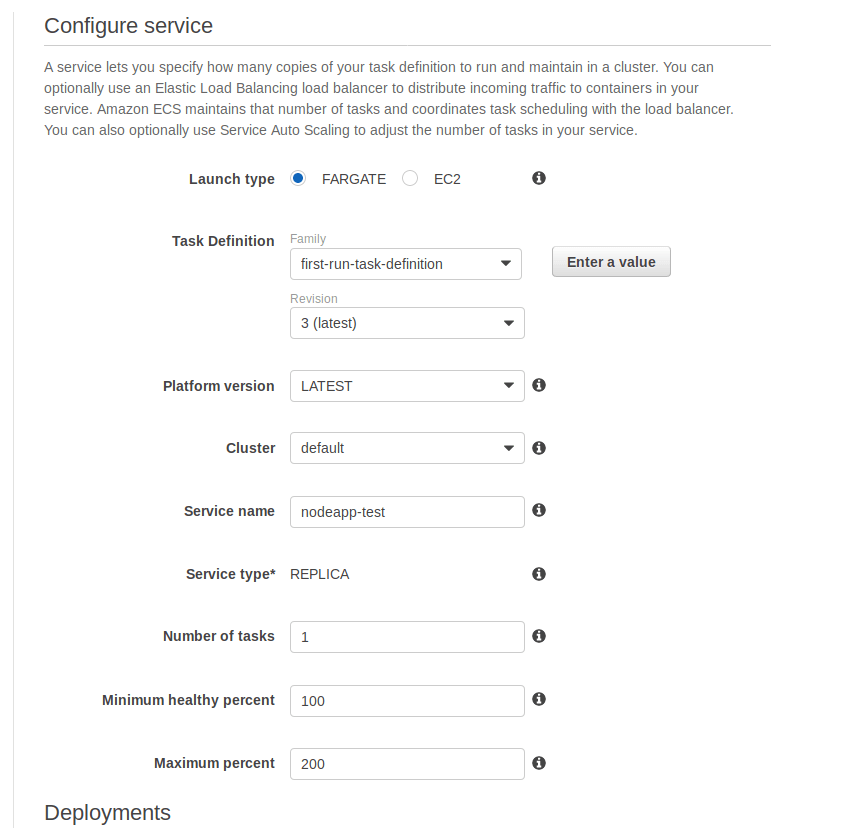
Click Create.
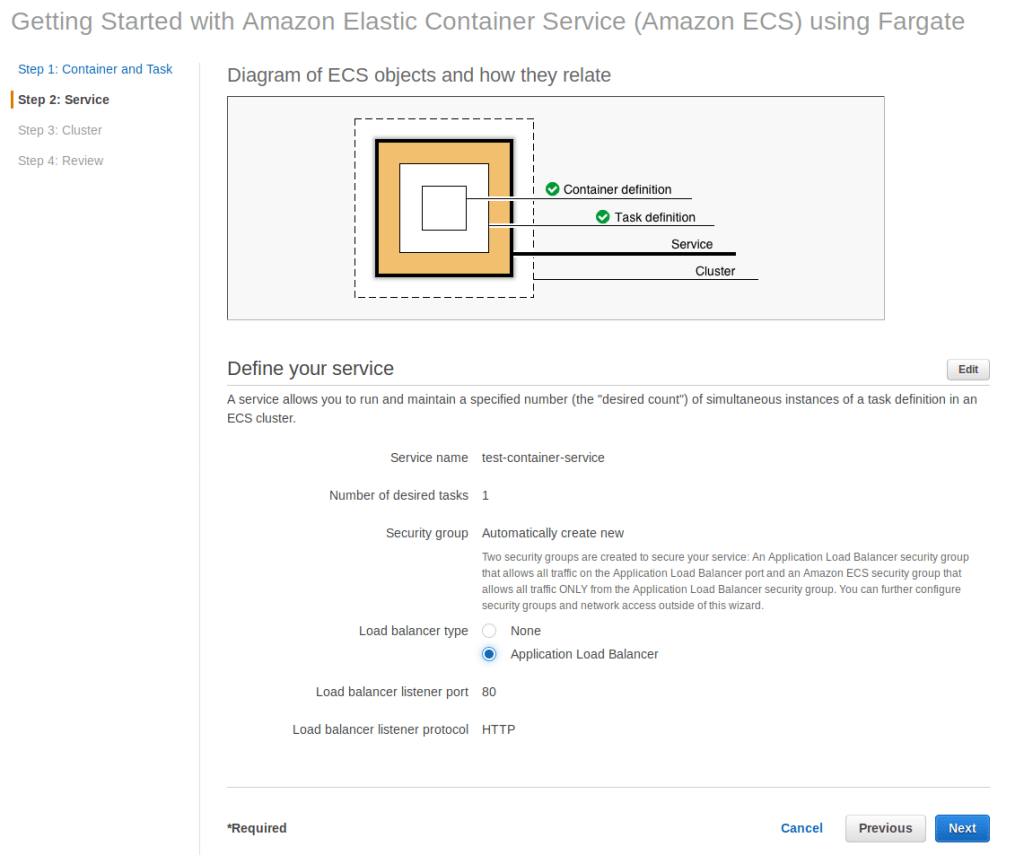
Set the service name to nodeapp-test . This service will be the “test environment” for our app.
The next screen will have a lot of network settings. You’ll want to create a new load balancer, so click the link to do so in the EC2 console. You’ll want to do this in a new tab.
You’ll want to go to EC2 in a new tab.
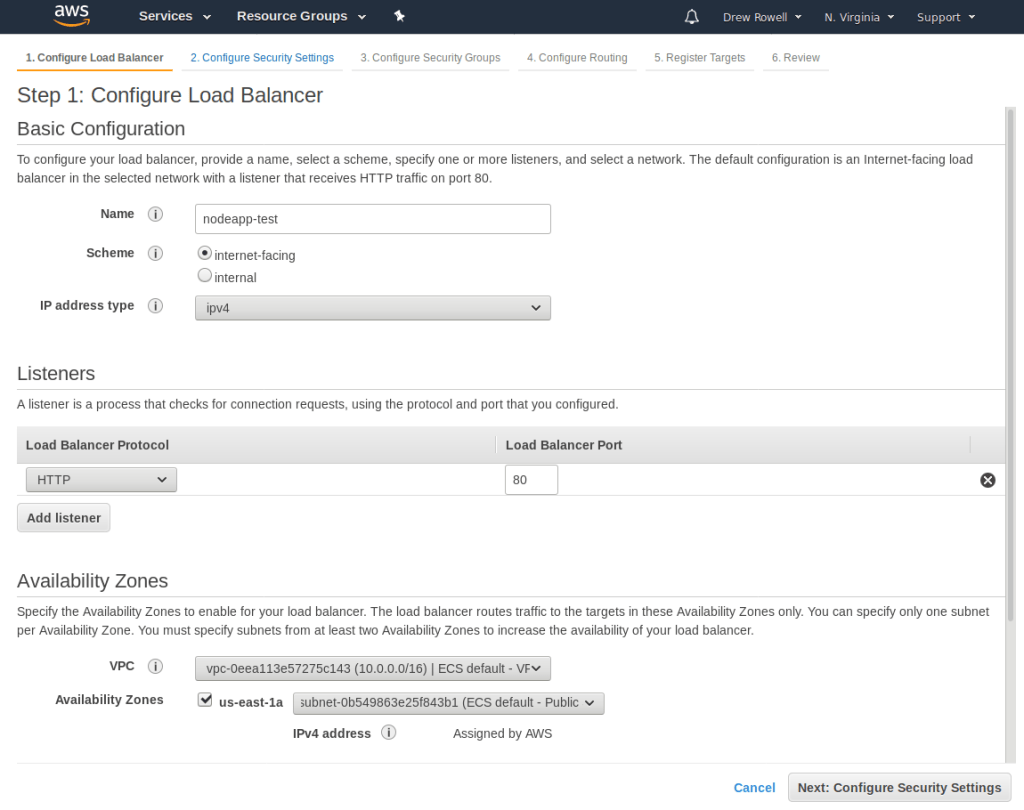
Click Create Load Balancer. Select Application Load Balancer.
Call it nodeapp-main, change the VPC to ECS default, and add the us-east-1a and us-east-1b availability zones.
The default settings for the Security Settings step is okay.
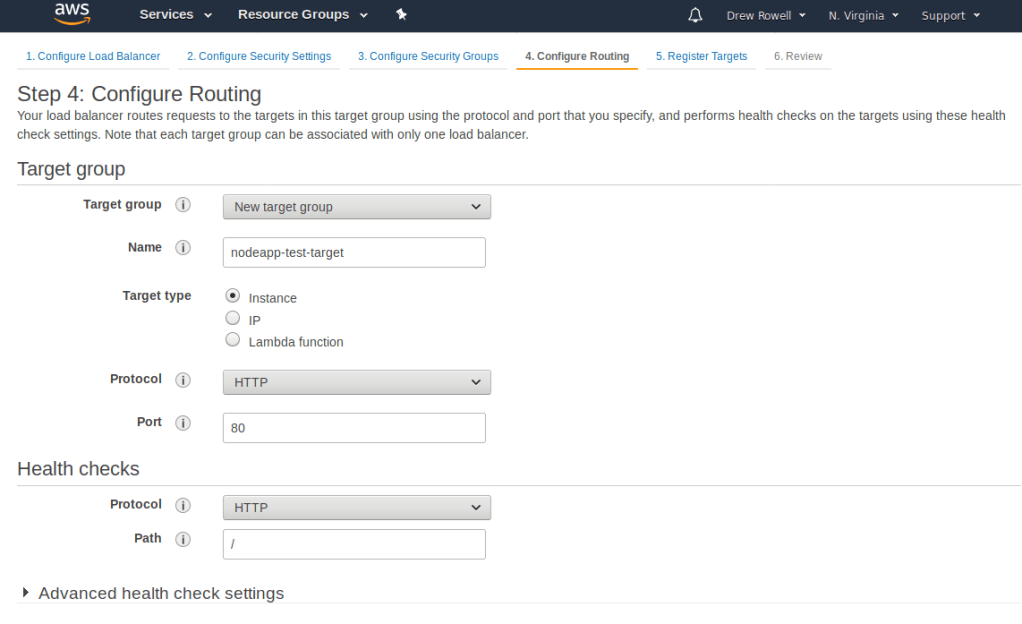
On the Configure Security Groups setting, pick the one that has ELB Allowed Ports. Then go to the next step, Configure Routing.
You’ll want to name the new target group nodeapp-test-target.
Don’t worry about registering any targets. Finish creating the group with the default settings.
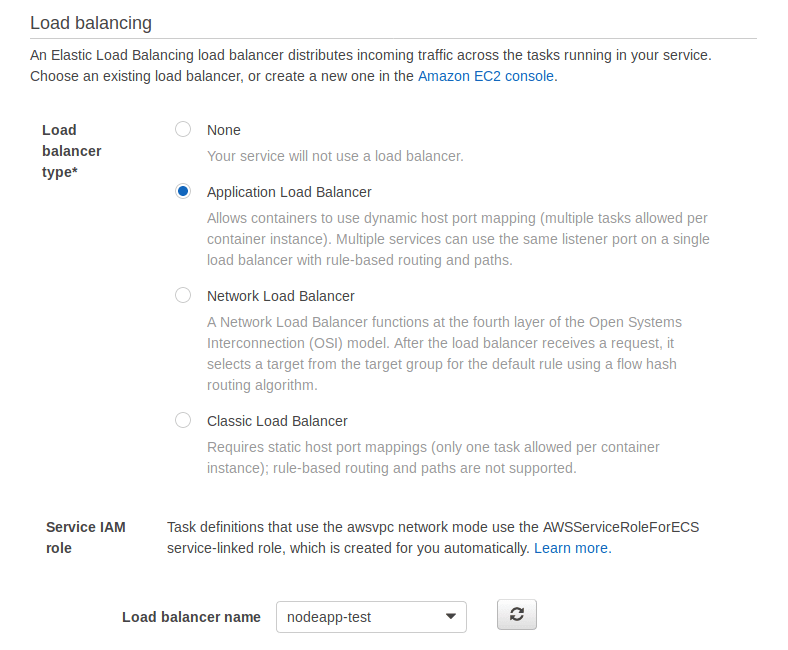
Go back to your browser tab where you were making a new service, and pick the load balancer you just created. You may need to press the refresh button to see it in the list.
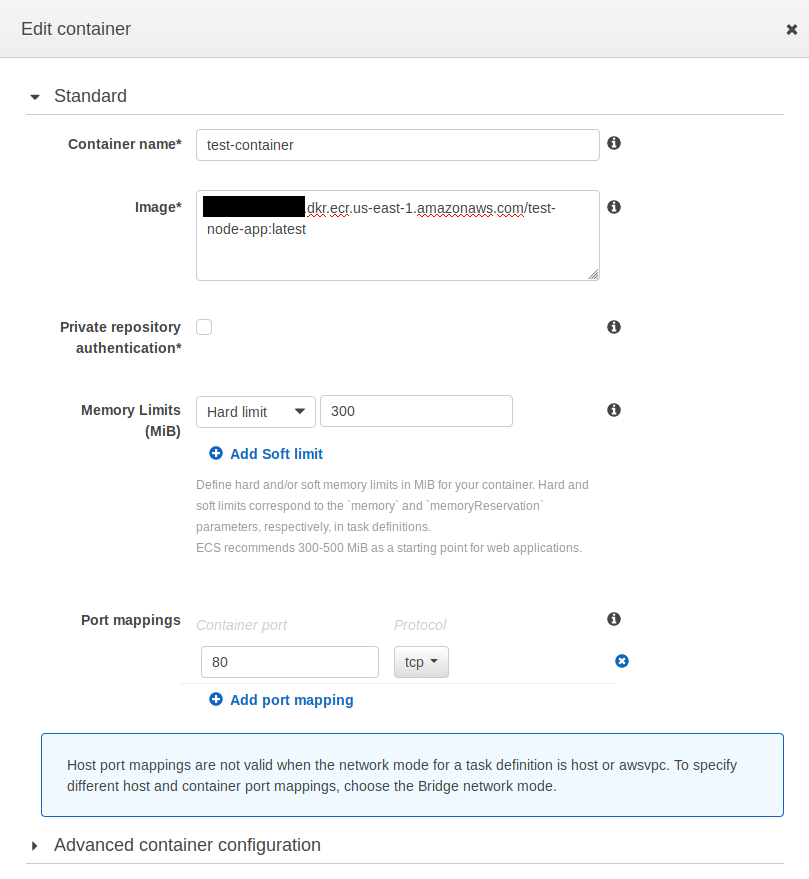
Add test-container:80:80.
And configure it like this:
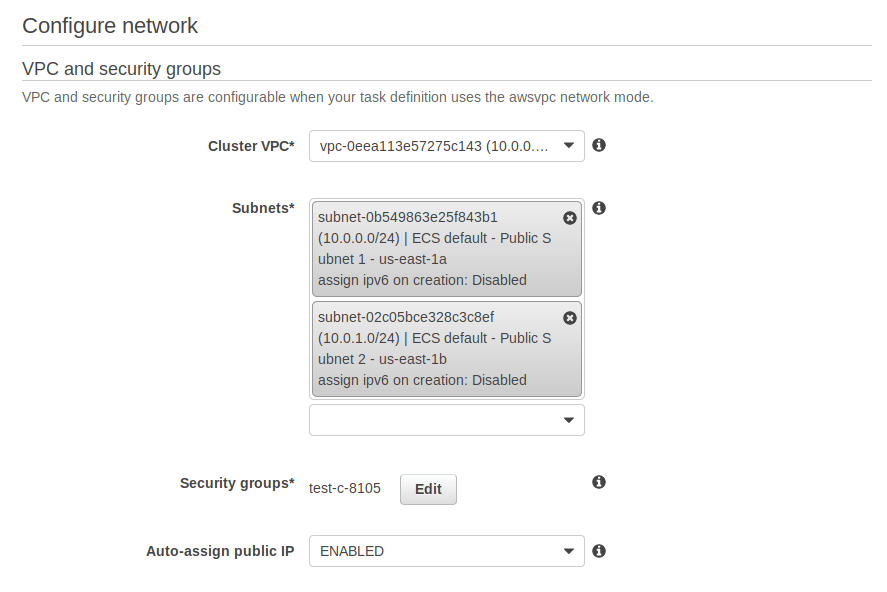
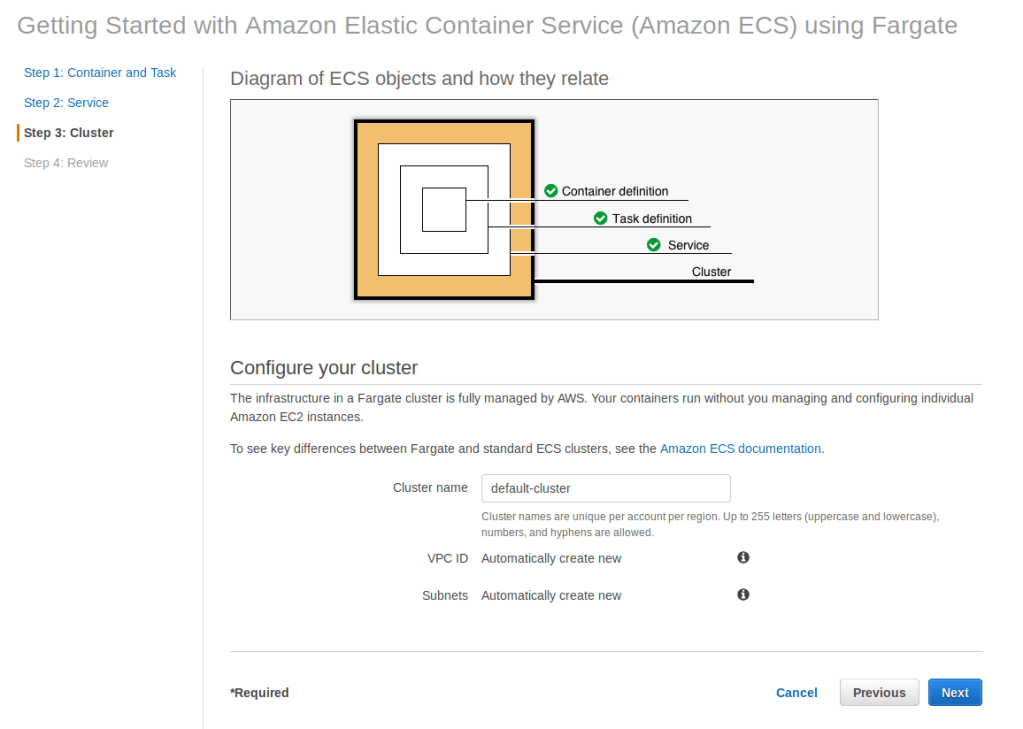
Add both subnets.
Then go to the next step. You’ll be asked to configure auto-scaling, ignore that. Then click Create Service.
At this point you should have two services. I had to remake one from scratch, so you may not have one called nodeapp-main. If you’re continuing from the previous post, the one you made there is what you should use instead of nodeapp-main for the rest of this tutorial.
Part Three: Building and Pushing the Docker Image with CircleCI
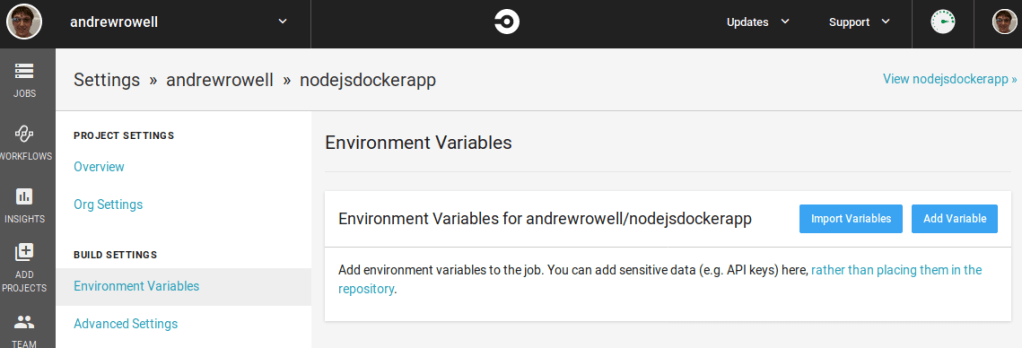
Open up the app in CircleCI.
Click the settings gear on the right, and go to Environment Variables.
Here we’ll add the sensitive parameters for the build/push step. It is very important that you put them here, and never in your git repo! Although it would be technically possible to hardcode them in the config.yml file for CircleCI, this would mean that your AWS credentials would be visible to anyone with access to the source code!
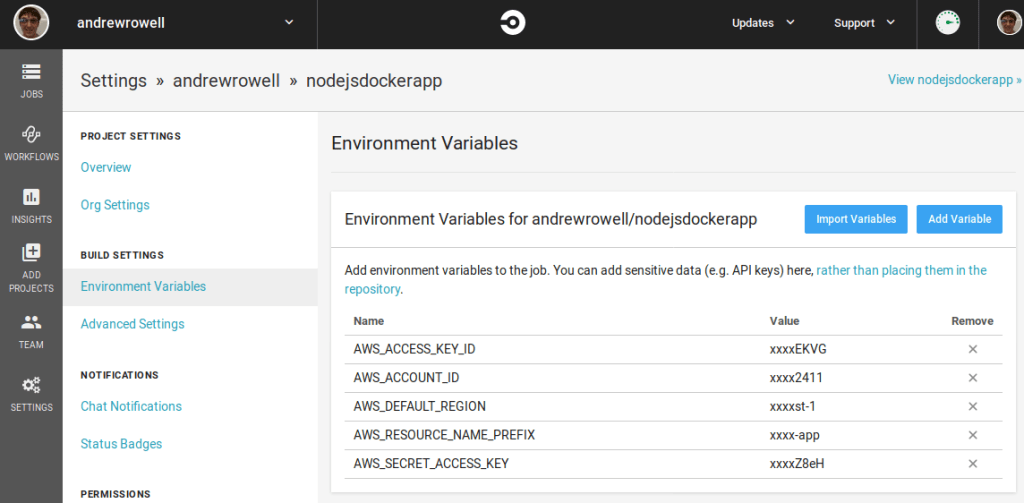
If you followed the previous guide, you’ll use test-node-app for AWS_RESOURCE_NAME_PREFIX.
For pushing to ECR, you’ll need these variables. You can get them from IAM, although you may have to create a new user to get a new access key. You’ll also need to check what region you’ve been working in.
Then edit the .circleci/config.yml file to look like this:
version: 2.1
orbs:
  aws-ecr: circleci/aws-ecr@0.0.2
  aws-ecs: circleci/aws-ecs@0.0.10
workflows:
  build-and-deploy:
    jobs:
      - aws-ecr/build_and_push_image:
          account-url: "${AWS_ACCOUNT_ID}.dkr.ecr.${AWS_DEFAULT_REGION}.amazonaws.com"
          repo: "${AWS_RESOURCE_NAME_PREFIX}"
          region: ${AWS_DEFAULT_REGION}
          tag: "${CIRCLE_SHA1}"
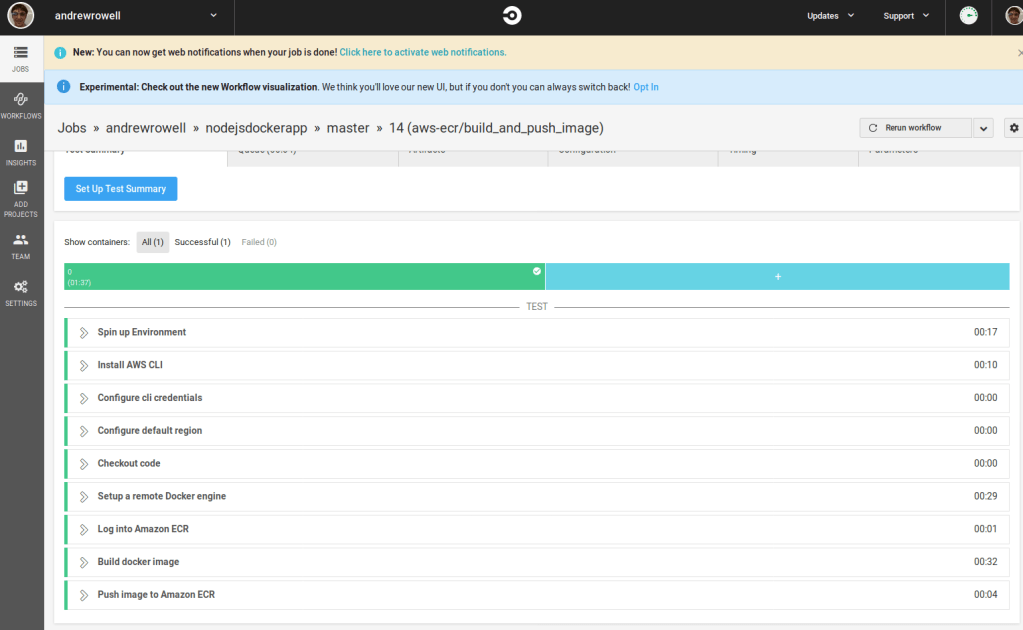
This just creates a step that builds and pushes the docker image. Commit and push this change.
CircleCI will automatically pick up the change.
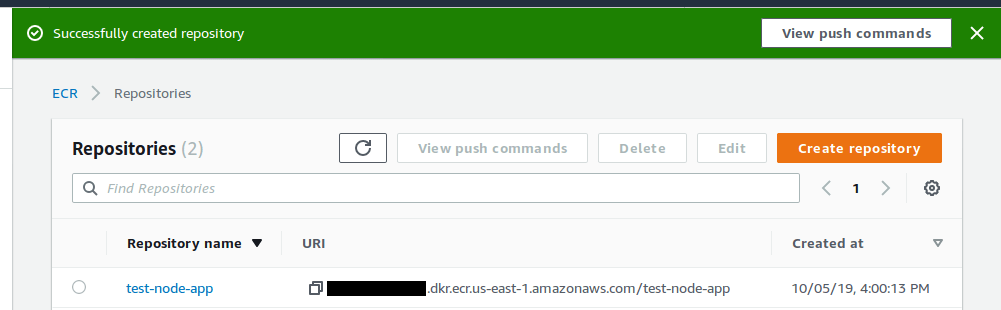
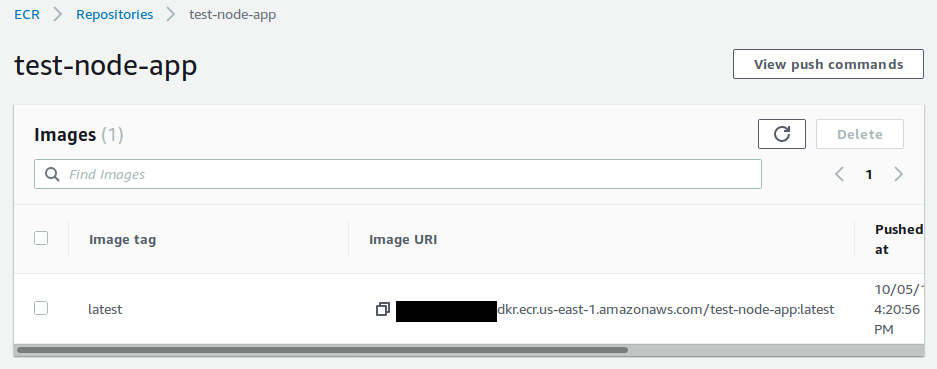
If you go to the ECR repo, you’ll see that it was uploaded.
Part Four: Deploying to the Test Service
Now edit the .circleci/config.yml file to look like this:
version: 2.1
orbs:
aws-ecr: circleci/aws-ecr@0.0.2
aws-ecs: circleci/aws-ecs@0.0.10
workflows:
build-and-deploy:
jobs:
- aws-ecr/build_and_push_image:
account-url: "${AWS_ACCOUNT_ID}.dkr.ecr.${AWS_DEFAULT_REGION}.amazonaws.com"
repo: "${AWS_RESOURCE_NAME_PREFIX}"
region: ${AWS_DEFAULT_REGION}
tag: "${CIRCLE_SHA1}"
- aws-ecs/deploy-service-update:
requires:
- aws-ecr/build_and_push_image
aws-region: ${AWS_DEFAULT_REGION}
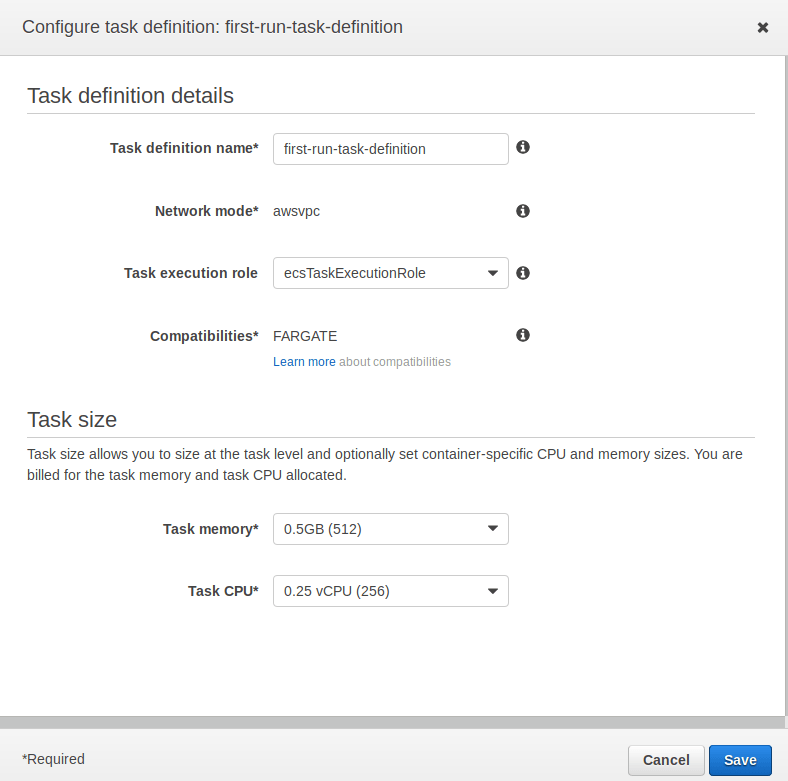
family: "first-run-task-definition"
service-name: "nodeapp-test"
cluster-name: "default"
container-image-name-updates: "container=test-container,tag=${CIRCLE_SHA1}"
Note that there are several hardcoded values here. If you have trouble, double check the cluster name, service name, container image name, and task definition name.
Here we add the aws-ecs/deploy-service-update step. It takes the docker image we built, and deploys it to the nodeapp-test service we created earlier.
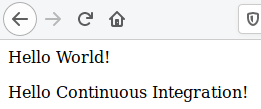
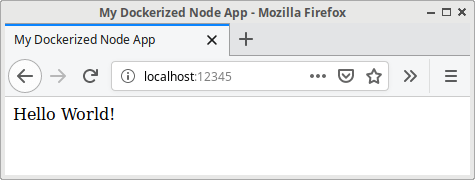
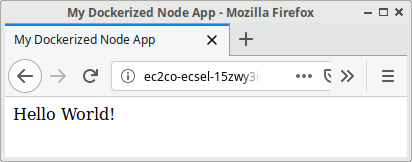
Modify your homepage.pug to look like this:
head
  title My Dockerized Node App
body
  p Hello World!
  p Hello Continuous Integration!
Commit and push both files.
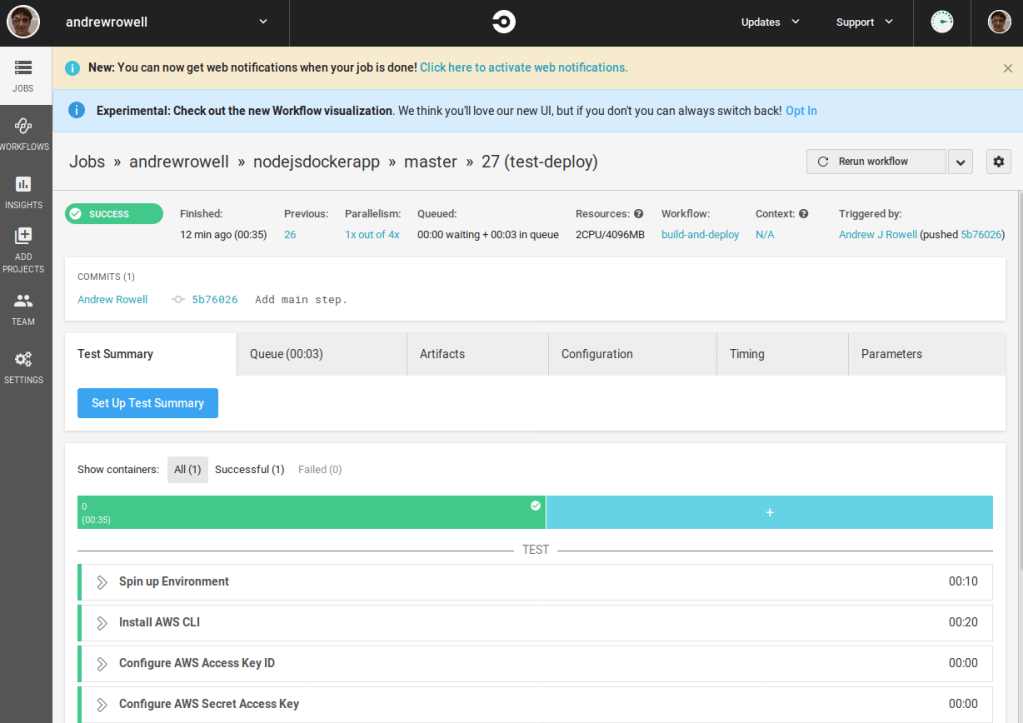
When the build runs, it should deploy to your test service.
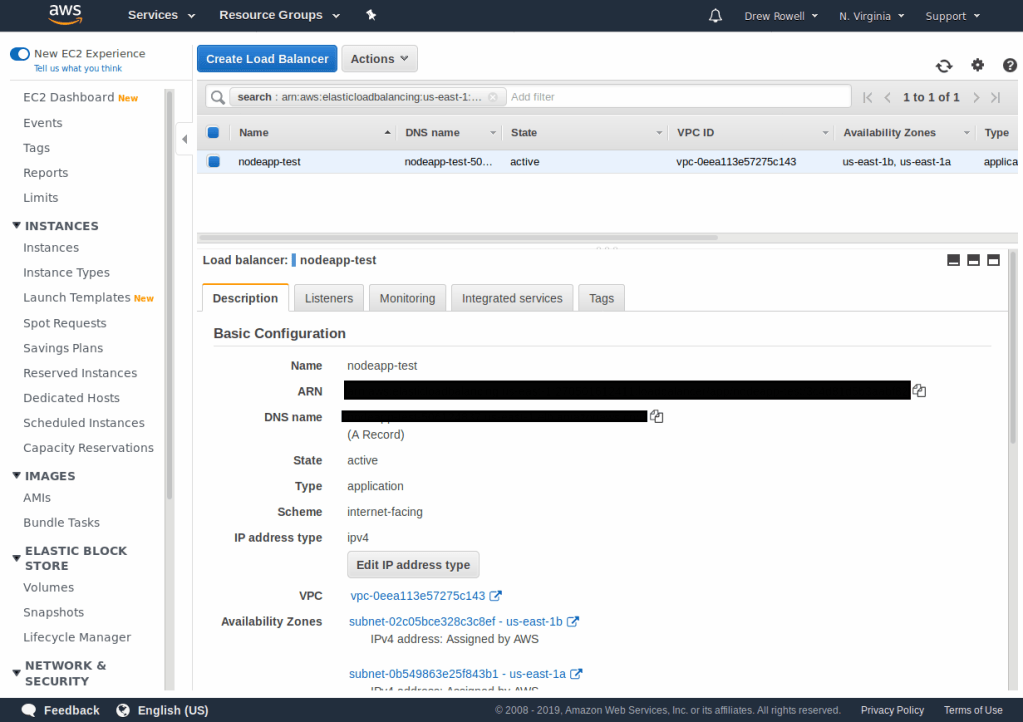
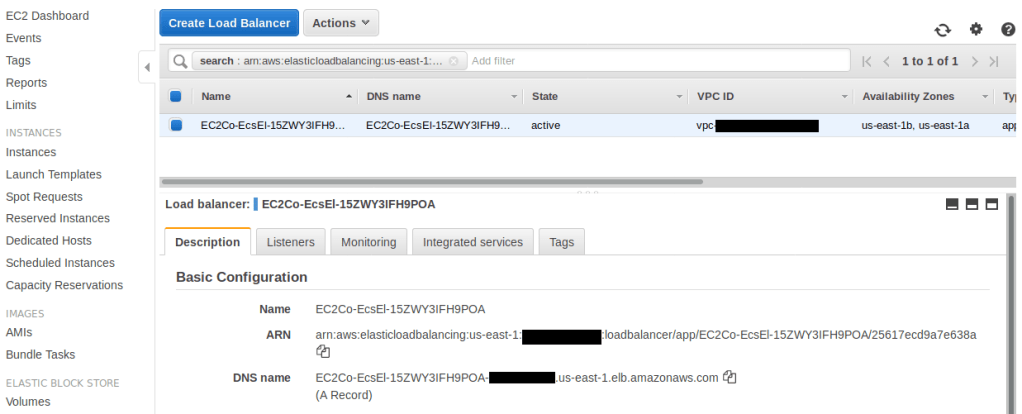
And if you open up the load balancer in the AWS console, you’ll see a DNS name that you can use to view the new page.
After some time, you’ll see the updated page.
Feel free to play around with the homepage’s contents, now. Every time you commit and push, it should trigger a build which will update the test service.
Part 5: Deploying to the Main Service
Now that you’re successfully deploying to the test service, you’ll want to add steps to deploy to the main service.
Modify your .circleci/config.yml to look like this:
version: 2.1
orbs:
  aws-ecr: circleci/aws-ecr@0.0.2
  aws-ecs: circleci/aws-ecs@0.0.10
workflows:
  build-and-deploy:
    jobs:
      - aws-ecr/build_and_push_image:
          account-url: "${AWS_ACCOUNT_ID}.dkr.ecr.${AWS_DEFAULT_REGION}.amazonaws.com"
          repo: "${AWS_RESOURCE_NAME_PREFIX}"
          region: ${AWS_DEFAULT_REGION}
          tag: "${CIRCLE_SHA1}"
      - aws-ecs/deploy-service-update:
          name: test-deploy
          requires:
            - aws-ecr/build_and_push_image
          aws-region: ${AWS_DEFAULT_REGION}
          family: "first-run-task-definition"
          service-name: "nodeapp-test"
          cluster-name: "default"
          container-image-name-updates: "container=test-container,tag=${CIRCLE_SHA1}"
      - hold:
          type: approval
          requires:
            - test-deploy
      - aws-ecs/deploy-service-update:
          name: main-deploy
          requires:
            - hold
          aws-region: ${AWS_DEFAULT_REGION}
          family: "first-run-task-definition"
          service-name: "nodeapp-main"
          cluster-name: "default"
          container-image-name-updates: "container=test-container,tag=${CIRCLE_SHA1}"
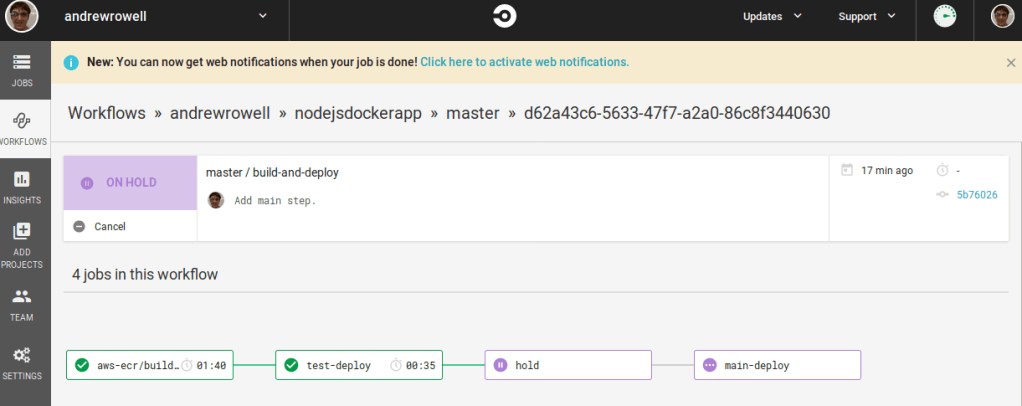
Here you can see that we’ve added two new steps. The first is a hold, to require manual approval to deploy to the main service. The second is the main deployment step. You’ll also notice that we gave the two deployment steps a name field. This is necessary for CircleCI to distinguish the two deploy steps, so the manual hold could be put between them.
Your service name for this step may be different! You’ll want to check the AWS console and see what the name of the service you created in the previous guide was (probably test-container-service).
Also notice that we’ve added a name to the old deploy-service-update step.
After you make these changes, commit and push them. Then go to CircleCI, and open the latest build.
Once it finishes successfully, open up the build-and-deploy page under the workflow label.
Click the hold step box, then click Approve.
After that, the hold and main-deploy tasks will finish.
Open up the nodeapp-main load balancer the same way you found the nodeapp-test load balancer earlier, and find its DNS name. After some time, your changes will show up on the main service.
And you’re done! Now you’ve set up continuous integration in your app with CircleCI.
Mistakes Made
After using this tutorial to start moving my personal site to AWS, I’ve noticed that having two load balancers isn’t really necessary. I could modify the routing in a single load balancer so that it routes to the different target groups. As of writing this, an ALB with low traffic will be about $17 a month, so I should probably work on reducing the ones I’ve set up into a single ALB.
Also, for this tutorial I put the test and main environments in the same account. In a production setting, you’d have them in different accounts.
I wrote this as I figured out how to do it. If there’s something dangerously wrong, or even if you just have suggestions, please reach out to me on Twitter, LinkedIn, or by email.
What Next?
I started learning how to set up HTTPS while working on moving my personal site. Doing that would add some steps to this guide, so I’ll probably write a follow up after I get this post polished up.
Although it shouldn’t be necessary for a personal site with low traffic, it would be good to document how to add autoscaling.
At some point I’d like to add instructions for adding automated testing steps to the CircleCI build. The app I started with for this guide just displays a static page, but it would still be good to show how to verify it.
Resources Used